
Step-by-Step Guide
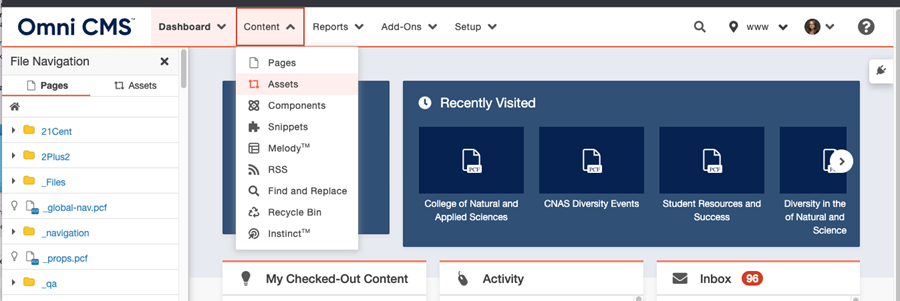
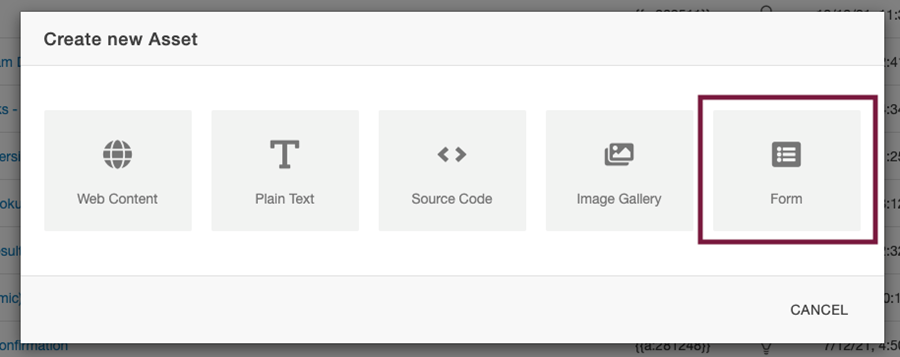
Creating a form asset

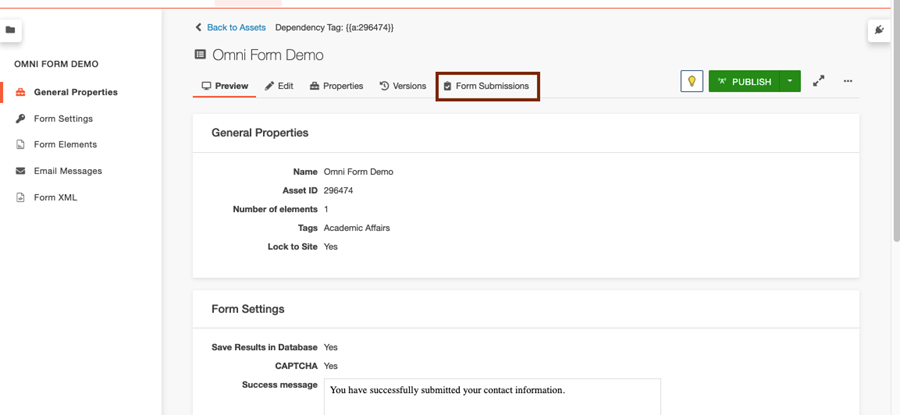
Configuring your form settings
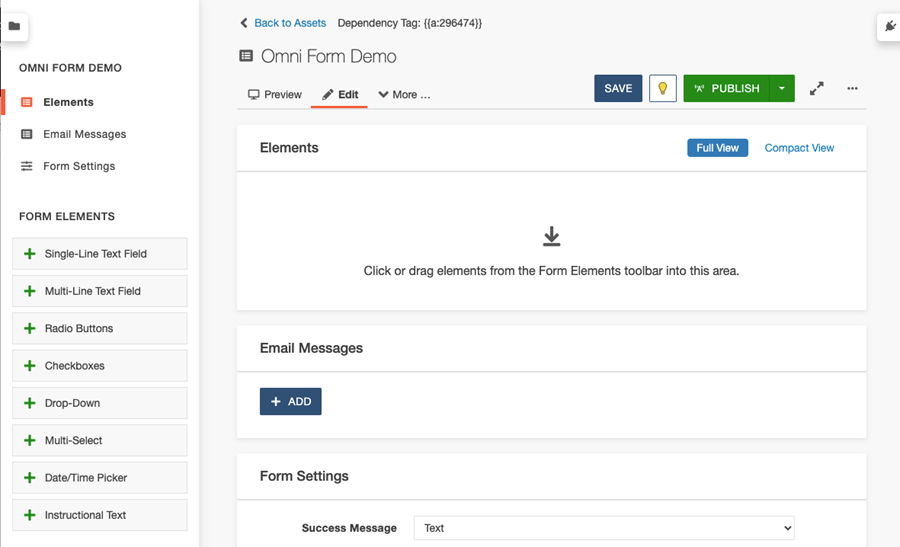
- Elements - this is the area where
your form elements may be added.
- Email Messages - this is the email
sent to you when a form is submitted. The
"To" field should contain where you wish
the email to be sent. This could be your
email address or your unit/department
address. The "Form" field may contain noreply@MissouriState.edu.
It may also contain the variable {{email}}
which will pull the email address of the
submitter into that field. The "To" and
"From" fields must both be properly
formatted email addresses, or the form
won't send emails.
- You may
configure one or more optional messages to
be sent to one or more people when a form
is submitted. More than one
address can be added to an email by
separating each address with a semicolon.
- At this time, WSD is discouraging
the practice of sending a confirmation
email back to the email address provided by the
submitter of the form.
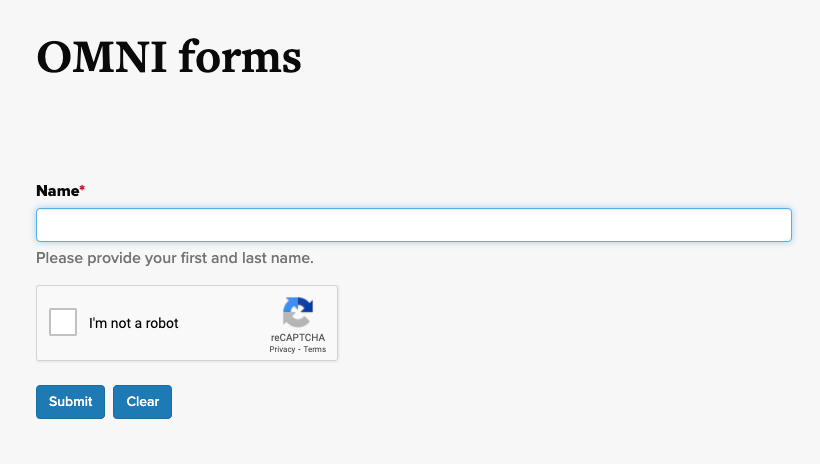
- Form Settings - this is what the submitter will see once their form is submitted. You will need to provide a success and a failure message.
Specifying your form type: Email or
database
Collecting form submissions and viewing
through email
- Click on Form
Settings link in the
left
column.
- Under Email
Messages make sure
the
checkbox Include All
Submitted Values is
checked.
- Under Form
Settings make sure
the
checkbox Save Results in
Database is not
checked.
- Complete your form
settings by
checking Include
CAPTCHA. Change
the Submission Button
Text if
desired.
Collecting form submissions and accessing
through a database
- Click on Form
Settings link in the
left
column.
- Under Email
Messages make sure
the
checkbox Include All
Submitted Values is
not checked.
- Under Form
Settings make sure
the
checkbox Save Results in
Database is checked.
- Complete your form
settings by
checking Include
CAPTCHA. Change
the Submission Button
Text if
desired.
- How to view and/or
download your form
submissions:
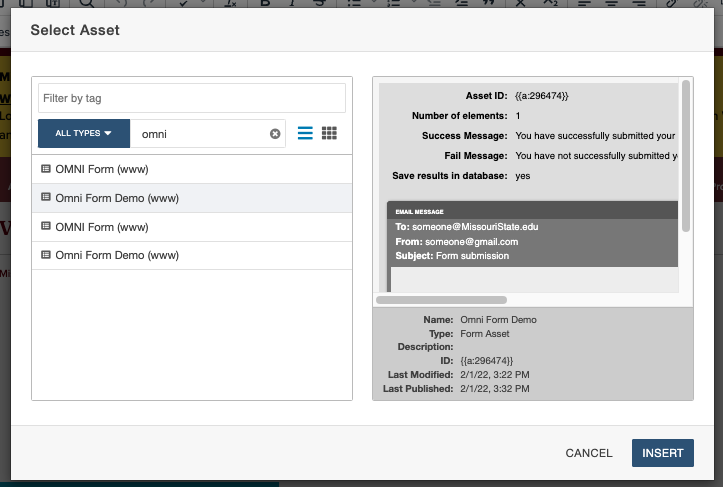
- Navigate
to Content > Assets.
- Find your form
asset.
- Click to open
the More
Actions menu.
- Click Review > Form Submissions.

- While viewing a form
asset, click Form Submissions in the
page actions toolbar:
- Each form with an
assigned id number.
- A column for each form
element with the submitted answer if
provided.
- IP address of the
submitter.
- Date submitted.
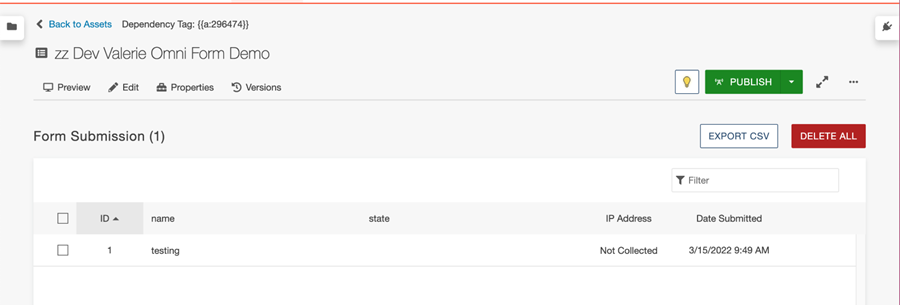
- Click "Export
CSV" in the
top-right corner. This will provide a
downloaded CSV file with the form
submission data.
Note:
Do not click “DELETE
ALL” unless
you wish to permanently clear the
submissions. This cannot be
undone.
Adding form
elements
Using +Single-Line Text Field as an example:
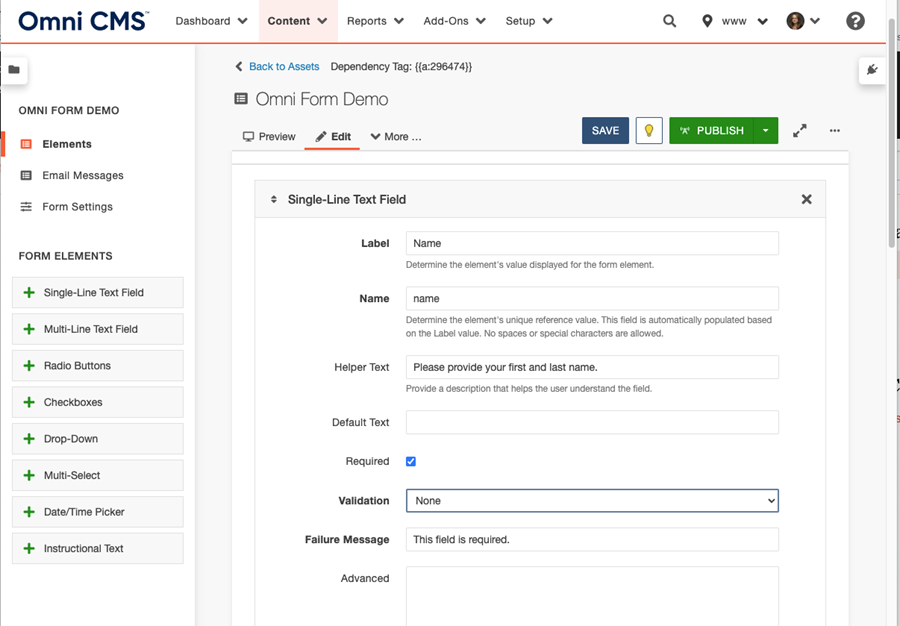
No spaces or special characters are allowed.
Element names can only be edited before you save the form, and are limited to
thirty-two
characters.
Elements
cannot have identical
names.
All elements can have helper text, which gives users more information about what you are seeking (information/answer to a question).
All
elements can be marked as required.
The user
will not be able to submit the form
until the question/information is
provided.
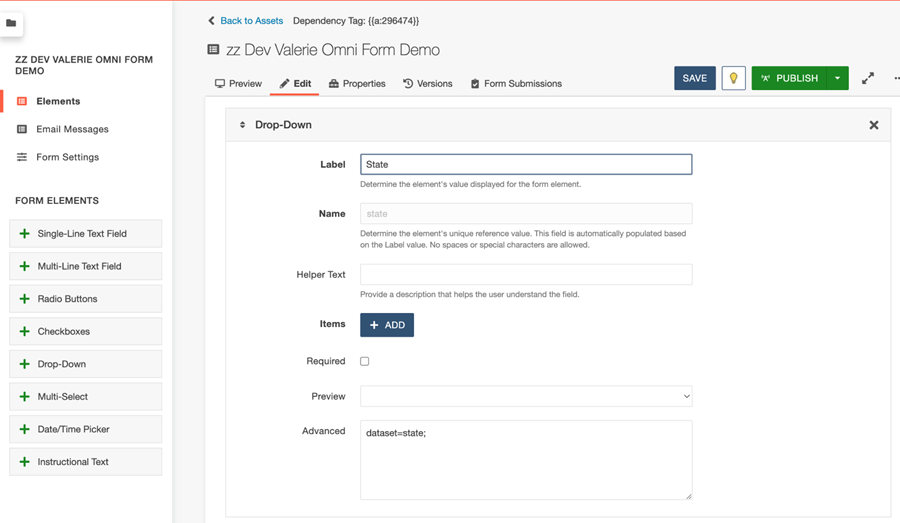
Adding a drop-down menu for states
- Within your form asset, add the +Drop-Down form element to your page.
- Add the State label.
- Within the Advanced field enter: dataset=state;
Adding
Form Fieldsets
To add a fieldset around the elements within your form, you will be using the form element advanced field.
- Identify where you would like your fieldset to start.Within the advanced field, type:fieldset_start=true;
- In addition, you will want to label your fieldset.Within this same advanced field, type:fieldset_label=About;
- Identify where you would like for the fieldset to end.Within the advanced field for that element, type:fieldset_end=true;
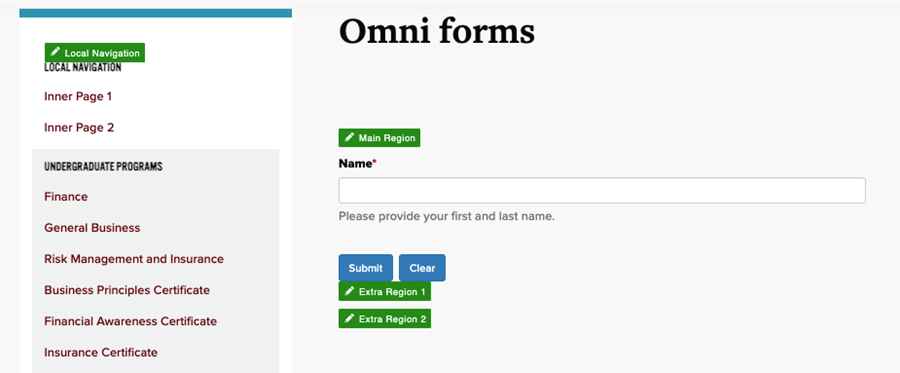
Placing
the form asset on your page
- Navigate to the page on which your
form will appear.
- Click on Main
Region.
- Click on assets
 (rotating arrows) to bring up
your
asset folder.
(rotating arrows) to bring up
your
asset folder. - Navigate to and click on your named
asset and click
on Insert.
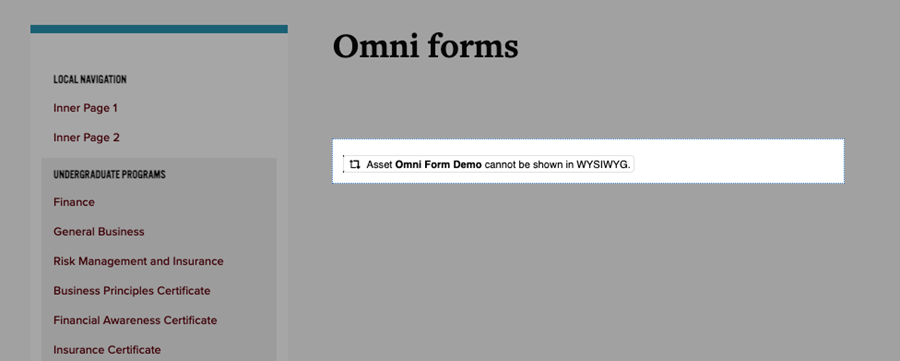
Your asset will appear on the page like
this:
Other form
options
Dynamic Forms by
NexGen Web
Solutions
- An
end user may save their form
and go back
to complete at
a later
time.
- Uploads are permitted.
- May route the form to numerous approvers.
- Can digitally sign.
- These forms are intelligent.
Learn more about this
form
builder
To
inquire about getting
an account,
contact:
- Requires an initial set-up fee of
$150 and a server. Must submit
a Sensitive University Data
Export Request System (SUDERS)
request through Information Services
for server
set-up.
- Provides a downloadable spreadsheet
of form submissions.
- These forms are
intelligent.
- An end user may save their form and
go back
to complete at a later
time.
- Can digitally sign.
Learn more about this form builder.